
Would it not be great to have Vericoin Docker container running on your SBC (like the Raspberry PI 4) . In this blog I am going to talk about how to get this Vericoin docker container running on your SBC.
Table of Contents
Prerequisites
- Raspberry PI 4 (preferred with 4 GB) (or any other ARM based SBC)
- Micro SD card with 16GB or more
- Ubuntu with Docker installed (see previous blogs)
- Basic knowledge about:Putty
Is there a good Vericoin node special for the RPI4 or other SBC?
The short answer to that question is yes there is. For example the one I have made myself: https://hub.docker.com/r/johanthedeveloper/vericoin. I explain in my other blog how I build this docker container. It is a special made docker container for the RPI4 with 4GB ram and ARM processor. It also can work on other SBC with 4GB and ARM processor.
How do I get vericoin node running on my RPI/SBC?
That is easy. Lets start with the command:
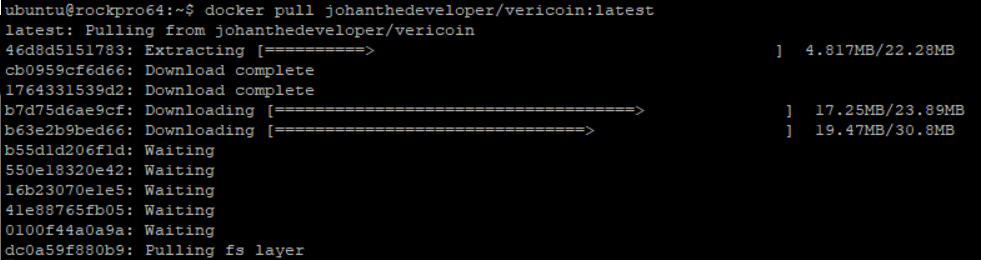
docker pull johanthedeveloper/vericoin:latestThis command let you download the latest version of my docker container.
We can create and start the vericoin node with the following command:
docker run -d --restart=always --mount source=vericoin_root_home,target=/root -p 58684:58684 --name vericoin johanthedeveloper/vericoin:latest- “-d“ will run this command as deamon
- “–restart=always” will make sure it restarts when it crashes
- “–mount source=vericoin_root_home,target=/root” will mount the ‘/var/lib/docker/volumes/vericoin_root_home/_data/’ as ‘/root’ directory of the docker container. This way your data is stored on your host. And you can kill and remove the docker container if needed
- “-p 58684:58684” will open port 58684 of the host to connect to the vericoin node. This will improve the number of connections to your vericoin node
- “–name vericoin” this is the name of your docker container instance. You can change it to what you want
- “johanthedeveloper/vericoin:latest” this is the image you want to run
When you then run the command ‘docker stats’, you can see that the container up and running.
How to start staking with your own wallet
With this vericoin image it is easy to setup staking with your own wallet. You need to follow the following steps:
- Run command ‘docker stop vericoin’. This will stop the vericoin docker container
- Navigate to directory ‘/var/lib/docker/volumes/vericoin_root_home/_data/.vericoin/’ (with the .)
- You might need to run command ‘sudo chown $USER /var/lib/docker/ -R’ if you don’t have access to /var/lib/docker/volumes/
- Replace ‘wallet.dat’ with your own wallet
- Navigate to directory ‘/var/lib/docker/volumes/vericoin_root_home/_data/vericoin/’ (without the .)
- Open ‘vericoin.conf’ with the command ‘nano vericoin.conf’
- Change here:
- vericoin_stake=true
- vericoin_walletpassword={yourpassword}
- Run command ‘docker start vericoin’ to start your vericoin node again.
Now the vericoin node will startup again with staking vericoin of your own wallet.
Don’t forget to forward port 58684 from you router to your RPI4 or SBC.