
The Raspberry PI 4 but also other small board computers are wonderful. You can do a lot with them and host a lot on them. In this blog I am going to talk about install Ubuntu 20.04 on a Raspberry PI 4.
Table of Contents
Summary
In this blog we are going to setup Ubuntu on a Raspberry PI 4 by using Win32DiskImager and the image downloaded from the Ubuntu website. When we have successfully boot the Raspberry Pi, we are going to connect to it with the use of Putty.
Prerequisites
- Raspberry PI (preferred a Raspberry PI 4 with 2 GB or 4 GB)
- Micro SD card with 16GB or more
- Basic knowledge about:
- Win32DiskImager
- Putty
- Linux
How to install Ubuntu 20.04 on a Raspberry PI
To install Ubuntu 20.04 on a Raspberry PI, you need to do the following.
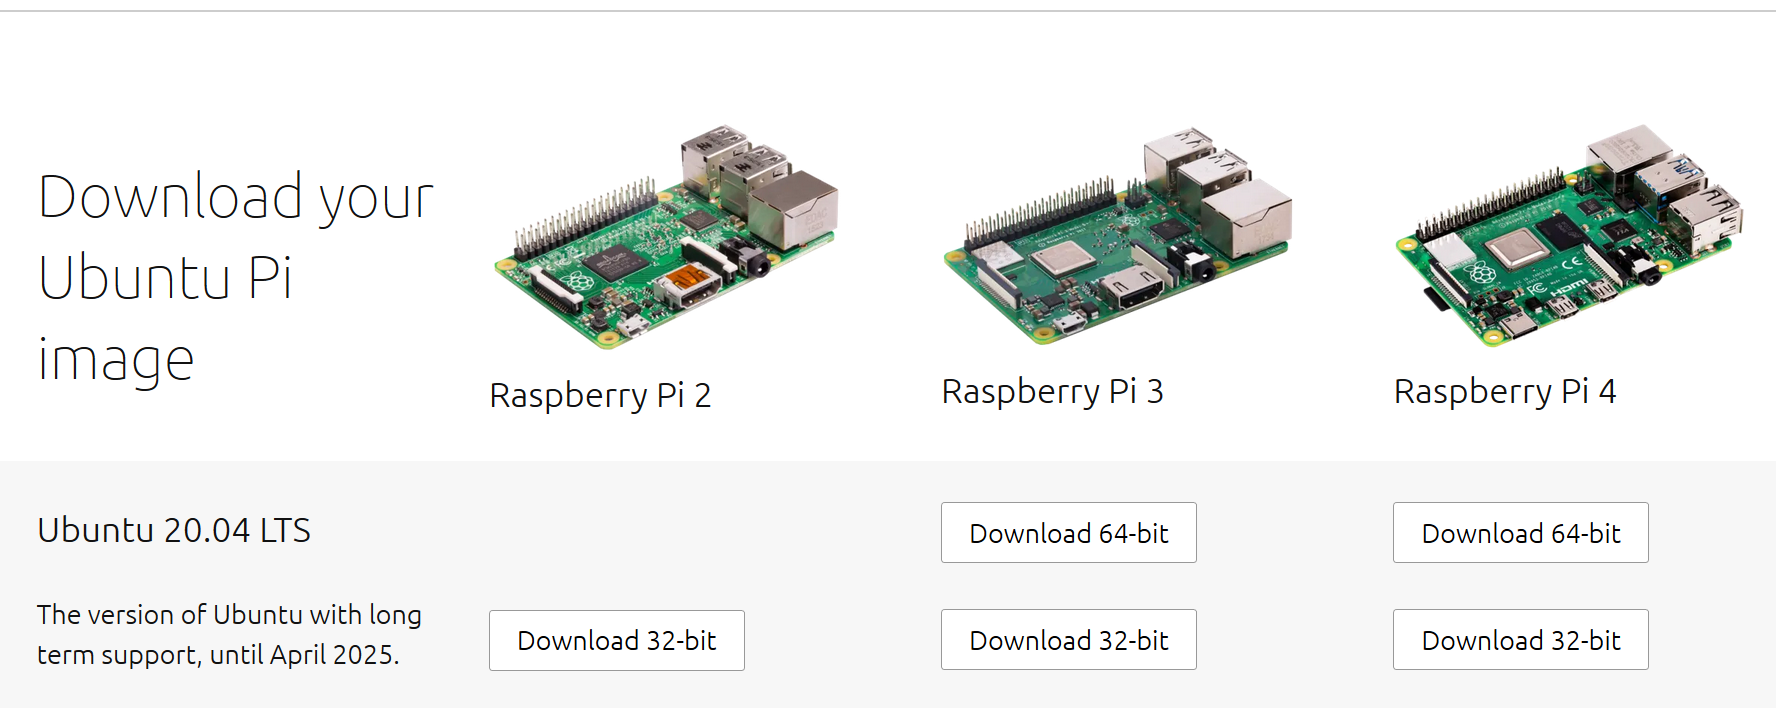
Download an image on https://ubuntu.com/download/raspberry-pi/ and choose the image that you need. I have chosen for the Raspberry PI 4 32-bit image.
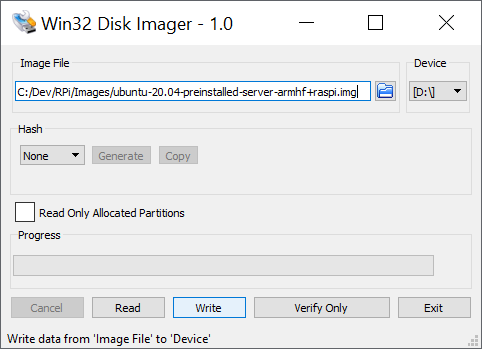
Open Win32DiskImager:
- Select the right ‘Device’ (your micro SD card)
- Browse to your image
- Click on ‘Write’ to start writing to your micro SD card
- Wait until Win32DiskImager is finished
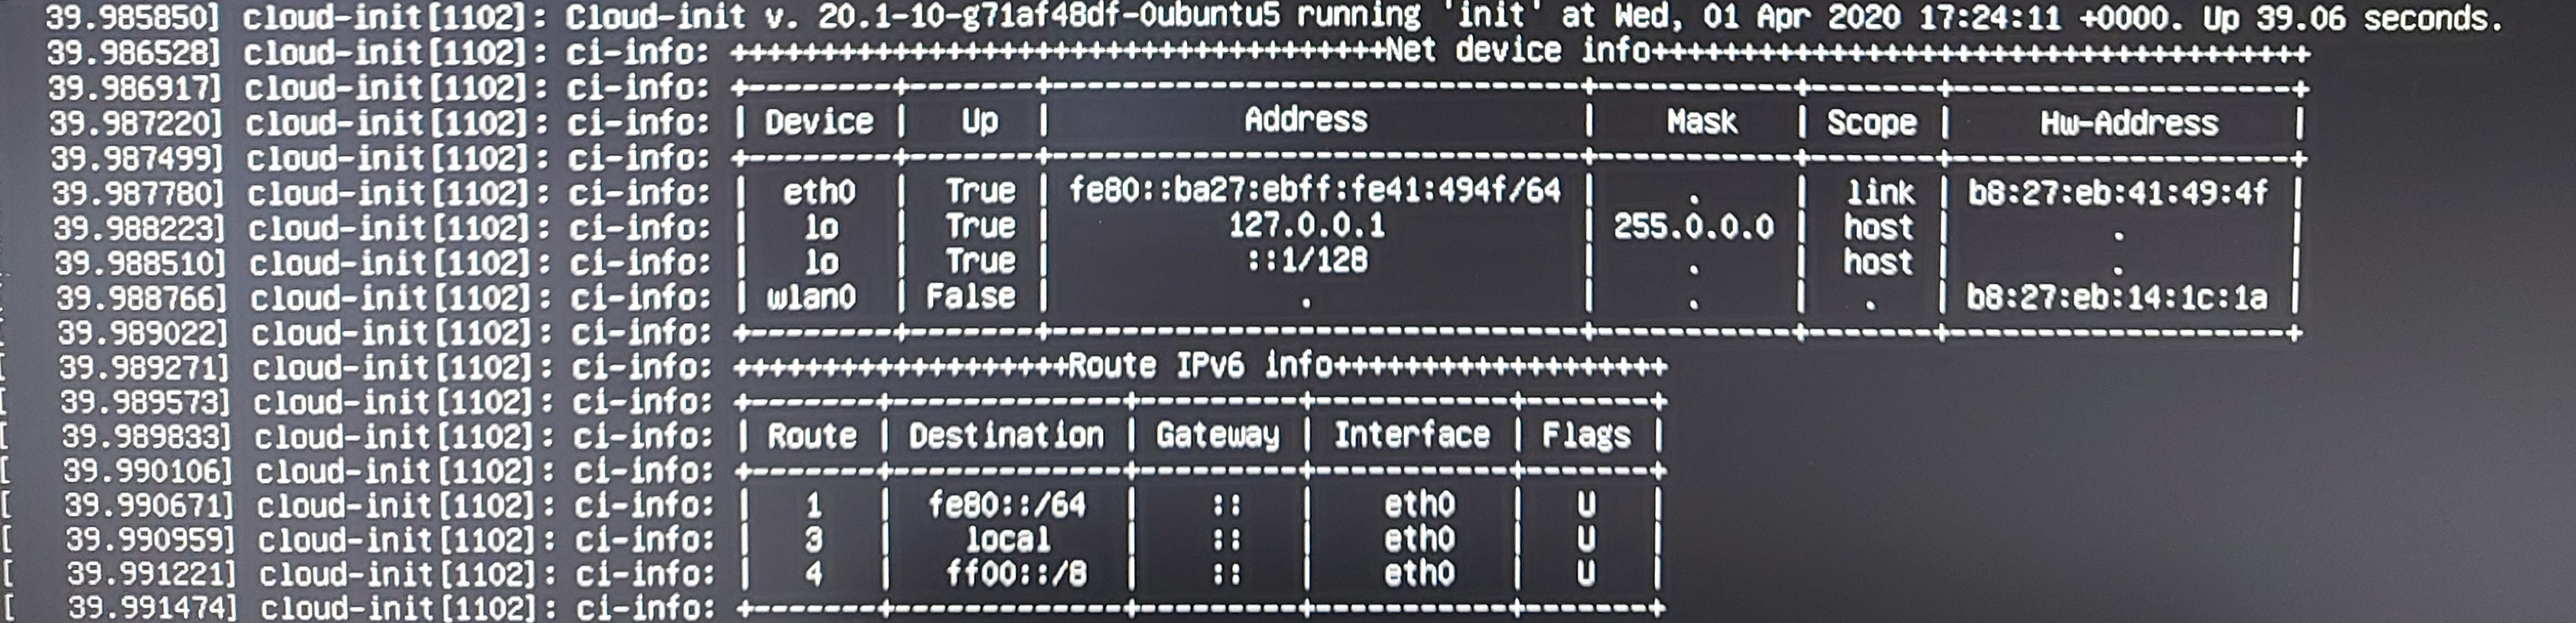
Boot for the first time
Place the micro SD card in your Raspberry PI and also connect power and ethernet. You also may want to connect a screen and keyboard. But as long you know your Raspberry PI IP address your fine. The IP address of the Raspberry PI will show for a short moment in time. Like:
Open Putty:
- Fill in the IP address of the Raspberry PI
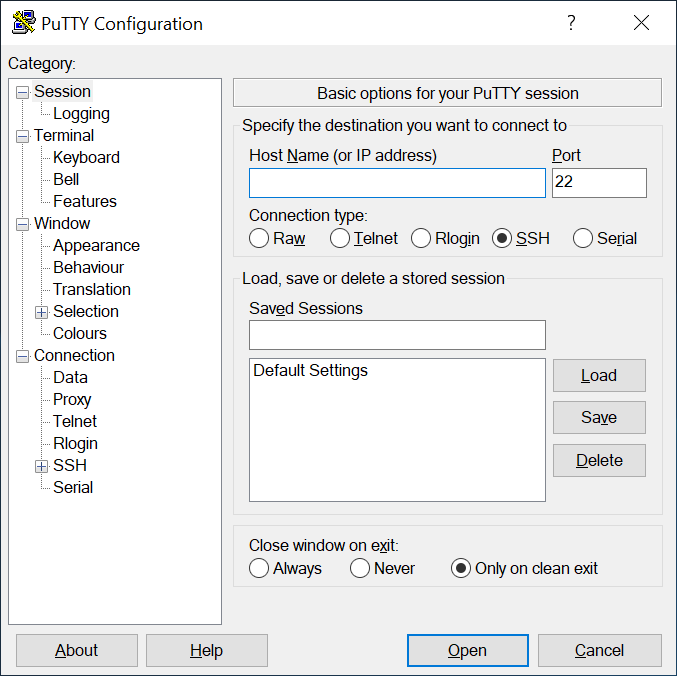
- Login with the default username & password:
- Default username: ubuntu
- Default Password: ubuntu
- When you successfully logged in. He directly asks you to change your password
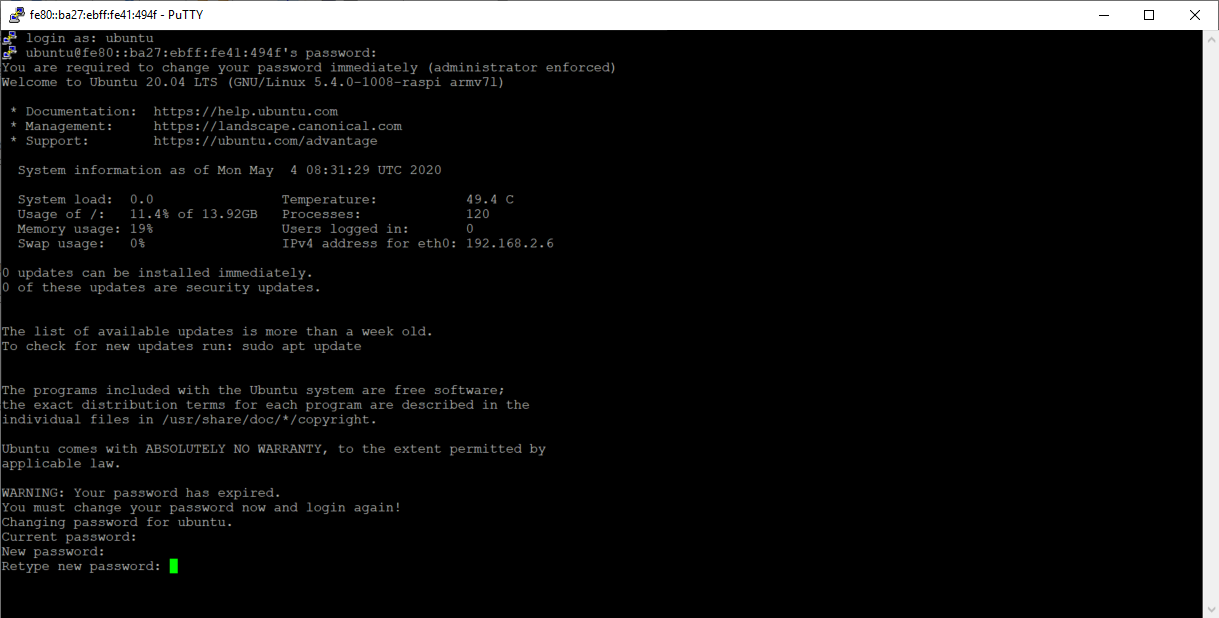
- Putty will close automatic after you change your password